
The first 30 days of a client relationship determine whether a contract sticks or churns. If you fail to demonstrate progress and control early, your future QBRs lose all credibility.
This repeatable MSP onboarding checklist gives owner-operators an operational framework with defined owners, artifacts, and Day 30 governance. It is built for repeatable execution, not high-level theory.
The process begins at Day 0, before go-live, with scoping, roles, and onboarding fee decisions.
Key Takeaways
- The commercial boundaries (scope exclusions, pricing model, billable remediation list) must be resolved at Day 0 -- before go-live -- or you absorb the client's historical IT debt for free.
- Absorbing pre-existing issues without a documented "issues found" list converts hidden risk into margin leakage and future disputes.
- Admin custody handoffs are the most common onboarding failure point -- validate every login and MFA setup before decommissioning legacy agent access.
- The internal handoff from onboarding engineer to account manager is the hidden churn driver -- if the account manager is not briefed by Day 30, the client feels the knowledge gap.
- First QBR baseline data (patch compliance, backup restore results, security gap list) should be built during onboarding, not assembled reactively at 90 days.
MSP client onboarding is the structured 30-day process by which a Managed Service Provider establishes commercial scope, gains administrative access, deploys security baselines, and transfers knowledge to the account team before steady-state operations begin.
1. Establish Commercial Boundaries and Day 0 Scope
Inheriting a client's historical IT mess for free kills margins before the first invoice. Absorbing remediation work without clear commercial boundaries builds resentment on both sides, driving early churn.
To prevent surprises on scope, timeline, or responsibilities, resolve these items before go-live:
Resolving scope, pricing, and role assignments before go-live is the single highest-leverage action to prevent margin leakage and early churn.
- Define Day 30 success criteria: Establish clear targets for service stability, security baselines, documentation minimums, and escalation paths.
- Select the pricing model: Use a flat fee or phased milestones covering discovery, remediation, and rollout.
- Exclude pre-existing issues: Document what is not included, making inherited problems separate, billable projects.
- Assign internal roles: Appoint an onboarding lead, service desk lead, and a named `MSP account manager` or vCIO from Day 1.
Artifact to produce: A one-page onboarding SOW and an internal project template.
Send the Welcome Kit and Onboarding Questionnaire Before Kickoff
The gap between a signed contract and the kickoff call is where clients start to doubt their decision. Fill it with two artifacts every strong onboarding uses: a client questionnaire that pulls the information you need, and a welcome kit that tells the client exactly what happens next. Skipping this pre-onboarding step forces your engineers to chase details mid-migration. Copy the checklist below into your project template and work it item by item.
Client Onboarding Questionnaire Checklist
Send this before the kickoff so discovery starts with answers, not blank fields:
- Business context: Primary contacts, decision makers, VIP users, office locations, and working hours.
- Environment basics: Approximate user and device counts, line-of-business applications, and any cloud platforms in use.
- Incumbent details: Current or outgoing IT provider, domain registrar, and who holds admin credentials today.
- Compliance and risk: Regulatory obligations, cyber insurance requirements, and known pain points or recurring outages.
- Priorities: The client's top three outcomes for the first 30 days, in their own words.
Client Welcome Kit Checklist
Deliver this as the client's first branded artifact so they feel in control from day one:
- Who to contact: Named onboarding lead, service desk lead, and account manager, with the exact support channels and hours.
- How to log a ticket: The ticketing process, response expectations, and emergency escalation path.
- What happens next: A plain-language timeline of the 30-day onboarding cadence with the Day 30 governance date already set.
- What you need from them: A short action list, including returning the questionnaire and confirming credential access.
- What to expect at go-live: The security baselines being deployed and the first QBR placeholder.
This section is a printable checklist, not a downloadable file. Paste it into your PSA onboarding template so every client receives the same welcome kit and questionnaire without an engineer rebuilding it each time.
2. Align Stakeholders and Define Communication Baselines
Most early onboarding churn starts as confusion over who to contact, what is urgent, and what success looks like. Solve this before deploying tools and agents. A structured kickoff establishes control immediately so the client experiences professional delivery from day one.
The kickoff is the client's first experience of your operational standard -- a structured agenda with documented owners signals the professional delivery that earns retention.
Add these steps to align client expectations:
- Convene key stakeholders: Gather the client's business owner, operations lead, and security contact with your onboarding lead and account manager.
- Confirm support channels: Document the ticketing process, response expectations, hours, and emergency escalation paths.
- Map critical workflows: Identify VIP users and high-risk operations like payroll, patient intake, or billing.
- Set the cadence: Schedule weekly status emails and book the Day 30 governance meeting now.
Artifact to produce: Signed kickoff notes and a shared timeline with firm dates and owners.
3. Map the Technical Landscape and Isolate Pre-Existing Risk
A checklist that only collects passwords and IP addresses invites future fires. To protect your margins and clarify liability, you must separate pre-existing client problems from new operational issues. This reduces blame and contract disputes by proving exactly what existed before you took control of the environment.
A written risk log with client acknowledgment converts pre-existing issues into billable remediation projects and eliminates the blame cycle during the first incident.
Execute a comprehensive environmental audit:
- Inventory: Document all users, physical locations, network segments, vendors, and line-of-business applications.
- Risk log: Detail undocumented firewall rules, unmanaged storage, and shadow admin accounts.
- Compliance and constraints: Map out HIPAA, PCI DSS, cyber insurance, and retention policies.
Put all identified risks in writing and secure written client acknowledgment.
Artifact to produce: A baseline environment summary plus an "issues found" list scoped as billable remediation projects. This converts hidden risk into immediate project revenue.
4. Secure Admin Access and Establish Custody
Onboarding fails most often during the handoff of administrative access, particularly when dealing with an unresponsive incumbent. Gaining control without disrupting production or triggering political conflict requires a strict etiquette and verification sequence.
Add these security steps to your checklist to prevent transition chaos:
- Map credentials by source: Group access needs (firewalls, backups, SaaS) by whether you must retrieve them from the client or the legacy provider.
- Validate before changing: Test all logins, MFA setups, and break-glass accounts before modifying permissions.
- Decommission sequentially: Remove legacy agents only after your replacements are live, active, and verified.
- Log custody changes: Maintain a written audit trail detailing exactly when credentials changed and who authorized the transfer.
Artifacts to produce: A populated credential vault, an access matrix, and a legacy agent decommission plan.
5. Deploy, Validate, and Measure Baseline Security Controls
Clients do not retain you because you deployed tools. They retain you because you reduce risk and downtime, and because you can prove it. This step ensures baseline controls are deployed, validated, and measurable.
Add these verification steps to your client onboarding checklist to prevent post-handover issues:
- Identity: Enforce MFA on critical admin accounts and complete a thorough least-privilege access review.
- Endpoint and server: Verify EDR policies are fully applied and actively monitored.
- Backup: Confirm total backup coverage, run one live restore test, and document exact RPO and RTO targets.
- Monitoring: Verify all alerting paths and test escalation rules.
Artifact to produce: A baseline controls report showing pass-fail status and next-step remediation projects. This deliverable reduces early operational incidents and builds trust through documented evidence rather than verbal assurances.
6. Bridge the Handoff Gap and Lock In the First MSP QBR
The hidden churn driver in managed services is the handoff gap. If your onboarding engineer knows everything and the account manager knows nothing, the client feels the drop. Resolving this is the most critical phase of your onboarding process.
To prevent knowledge loss and protect retention, hold an internal meeting with your onboarding lead, service desk lead, and assigned account manager or vCIO.
Transfer these essentials:
- Documentation minimums and credential vault access
- VIP notes and open risks
- Key roadmap candidates
Next, build the baseline for your first MSP qbr using:
- Asset inventory and patch compliance snapshots
- Backup test results
- Security gaps list
Schedule the QBR date and agenda placeholder immediately, even if it is a light initial business review. This secures a smooth transition from project mode to account management.
Artifacts to produce: A complete handoff packet and a one-page QBR baseline dashboard.
How to Turn Your MSP Onboarding Checklist into a 30-Day Management System
A client onboarding checklist only works if you can manage and report it. Turn your list into an accountable management system with assigned owners, clear milestones, and executive visibility to ensure the Day 30 governance review and first QBR happen on schedule.
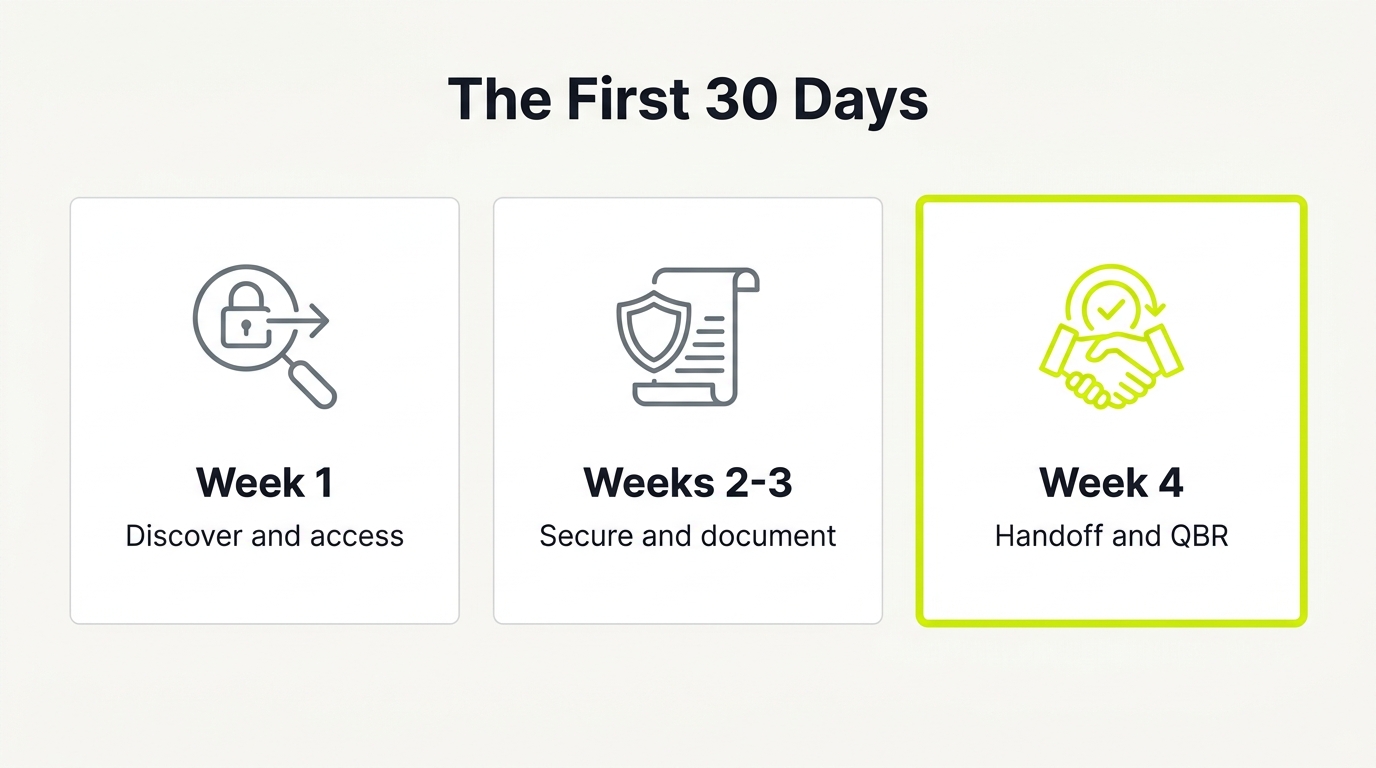
The 30-Day Onboarding Cadence
- Day 0: Define scope, assign internal roles, and schedule the Day 30 governance review.
- Days 1 to 3: Conduct the client kickoff and establish rules of engagement.
- Days 1 to 7: Execute technical discovery and document pre-existing risks.
- Days 3 to 14: Secure admin access and initiate legacy provider offboarding.
- Days 7 to 21: Deploy security baselines and execute validation tests.
- Days 14 to 30: Complete the internal handoff and build the QBR baseline dashboard.
The Boardroom Layer: What to Measure in the First 30 Days
Focus on outcomes rather than activity. Track these three categories for the Day 30 review:
- Service stability: Monitor ticket categories, isolate repeat incidents, and track response times.
- Risk reduction: Document MFA coverage, verify backup restore tests, and confirm EDR coverage.
- Commercial clarity: Review the first invoice line-by-line at Day 30 to prevent billing disputes.
Onboarding Evidence Drives Retained Growth
Onboarding evidence directly drives retention. Use the metrics gathered in the first 30 days as baseline proof for your first QBR. Showing this operational control builds the trust that drives renewals and referrals, plugging your pipeline leak.
To see how a structured onboarding process reduces churn and builds a predictable client base, read our guide to MSP transition services.